The past several weeks have thrummed along with good progress. It was exciting to see so much activity on site with several trades working concurrently. Work done over the past few weeks includes:
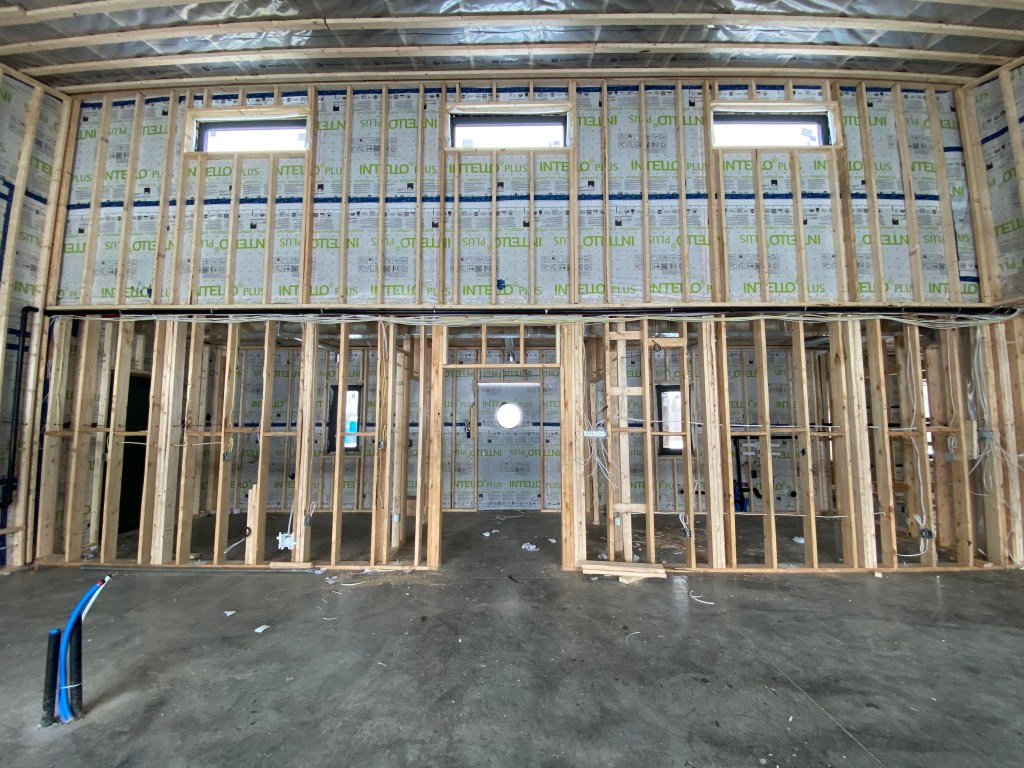
- Interior walls and service walls built, framing finished
- Exterior insulation installed
- Exterior wrap started, including soffits, fascia, window capping
- Garage doors installed
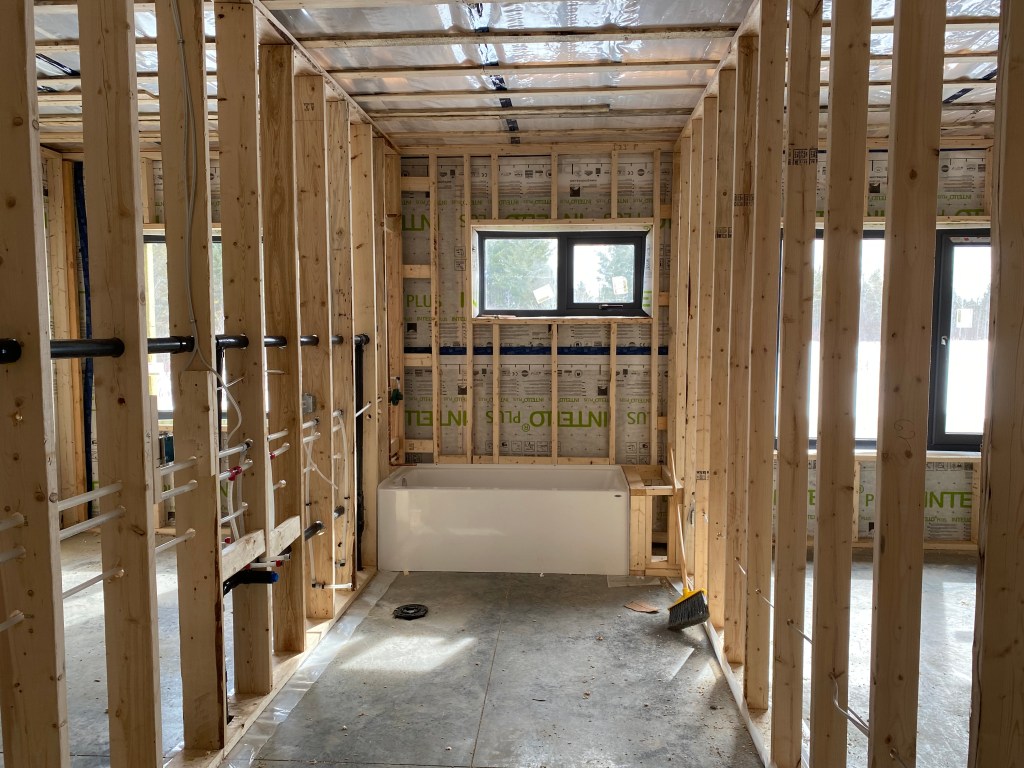
- Plumbing rough-in
- Electrical walk-through and rough-in
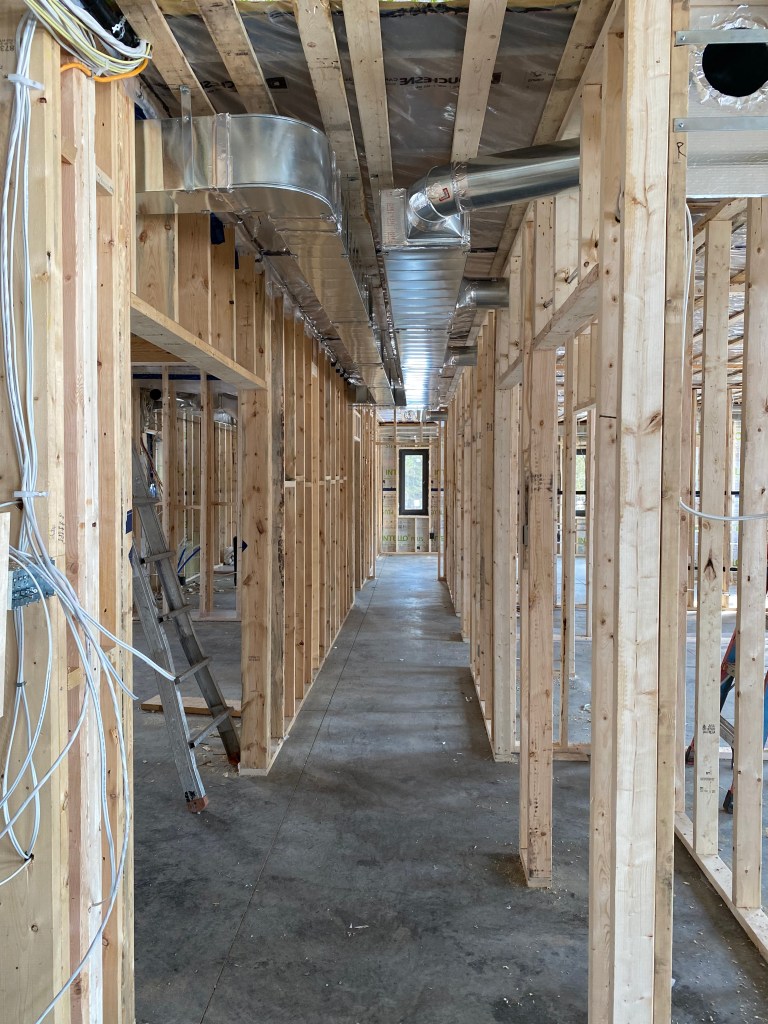
- HVAC rough-in
- Chimney and air intake rough-in for woodstove
- Ceiling insulation installed
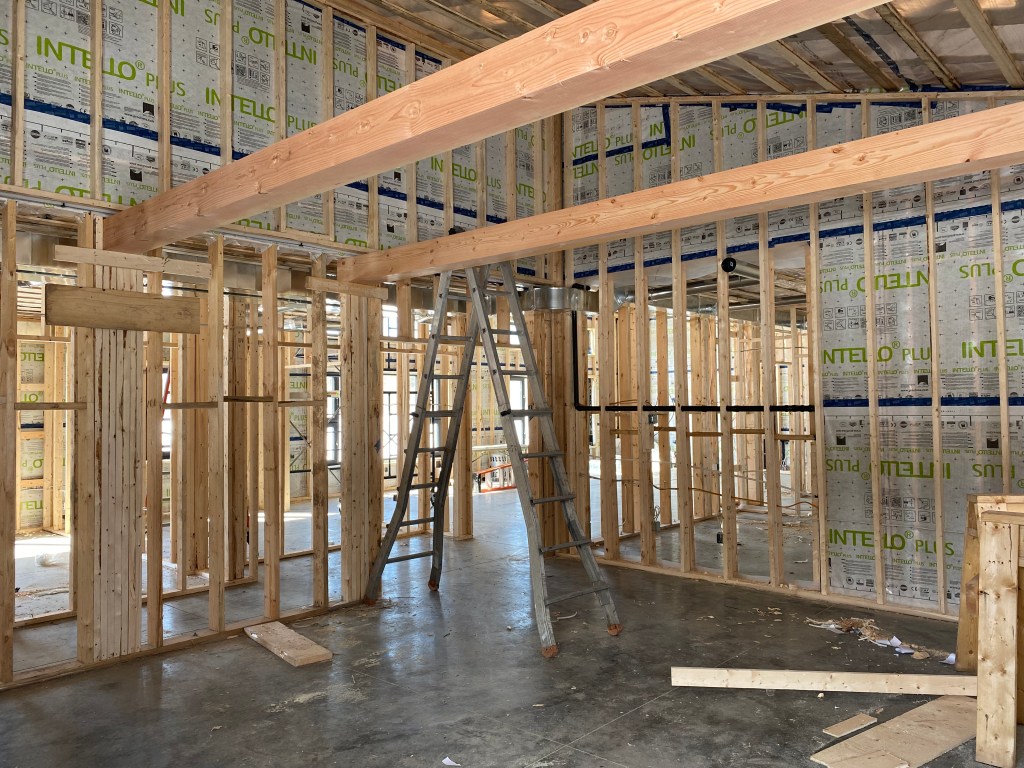
Our house was recently assessed at 61 percent complete – finally more done than there is left to do (in theory at least)! We’re getting to the point where we can start tackling some of the work ourselves. First task will be installing the final layer of insulation in the service walls before the drywallers come at the end of April.


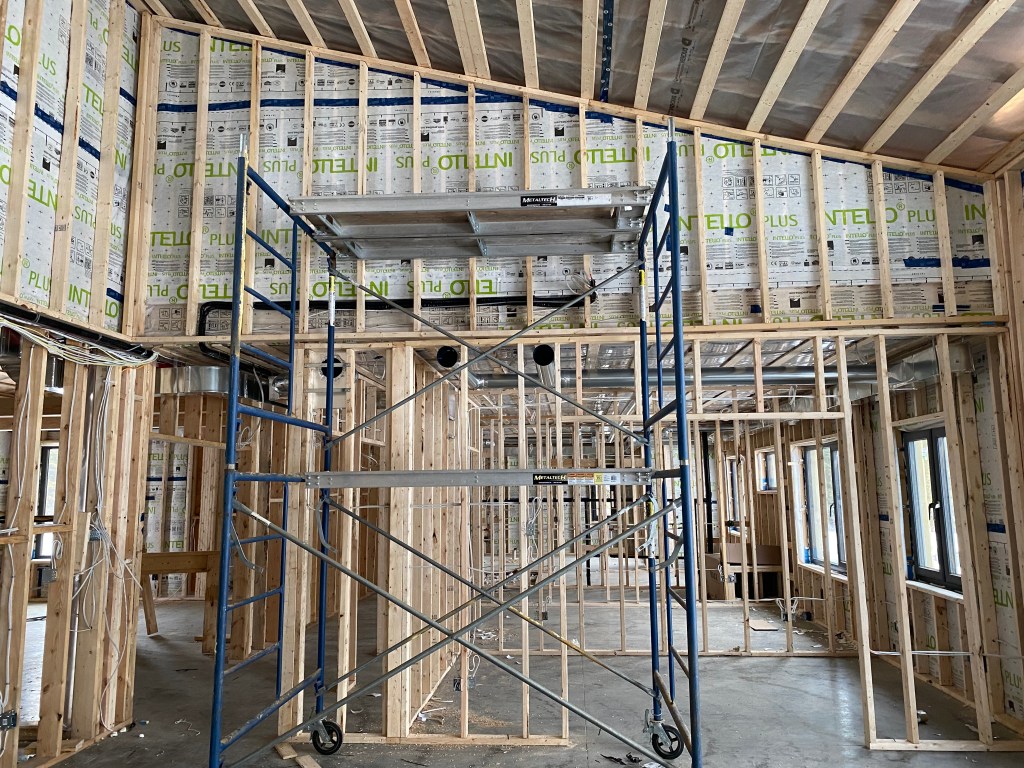
The service wall consists of 2×4 studs along the exterior walls and 2×2 furring strips on the ceiling. All the electrical and plumbing are meant to run through the service wall so that there’s a continuous layer of insulation to the outside. We’ll be adding R-14 Rockwool insulation batts to the 2×4 walls for our final layer of insulation, bringing the walls to R-48. The ceiling had 22 inches of cellulose insulation blown in with an R-value of 77.
Prior to the electrical rough-in, our electrician drew a draft plan of where he thoughts light fixtures, switches and outlets would go, we then made edits and did a walk through to confirm placement and types of fixtures, making sure things like switches weren’t placed behind doors or furniture. Unfortunately, when it came to the rough-in, something got lost in communication and the electricians who carried out the work ran wires through the attic, poking holes in the vapour barrier rather than running along the service wall on the ceiling, so that had to get patched and sealed. The electrician has also had some back and forth with Hydro Ottawa, trying to convince them to allow the service line for the electrical hookup to skirt around the driveway rather than cross it, as crossing under the driveway will require encasing the line in concrete ($$$). That plan was rejected, however, so we’ll have to have concrete poured. On the plus side, a new hydro pole was finally installed and the culvert was unblocked after several calls from our project manager. Because we only needed one pole, which is located in the right of way, we didn’t have to pay for the replacement. It came in the nick of time too, as a recent ice storm brought down several trees and hydro lines throughout the area.
This week, we should receive our first blower door test to determine how airtight the house is, along with final framing inspection so we can get to work on insulation and get things cleaned up for the drywallers. We’re also working our way through a long shopping list, getting things like bathroom fixtures, vanities and cabinets bought so they’re ready to go when we need them.